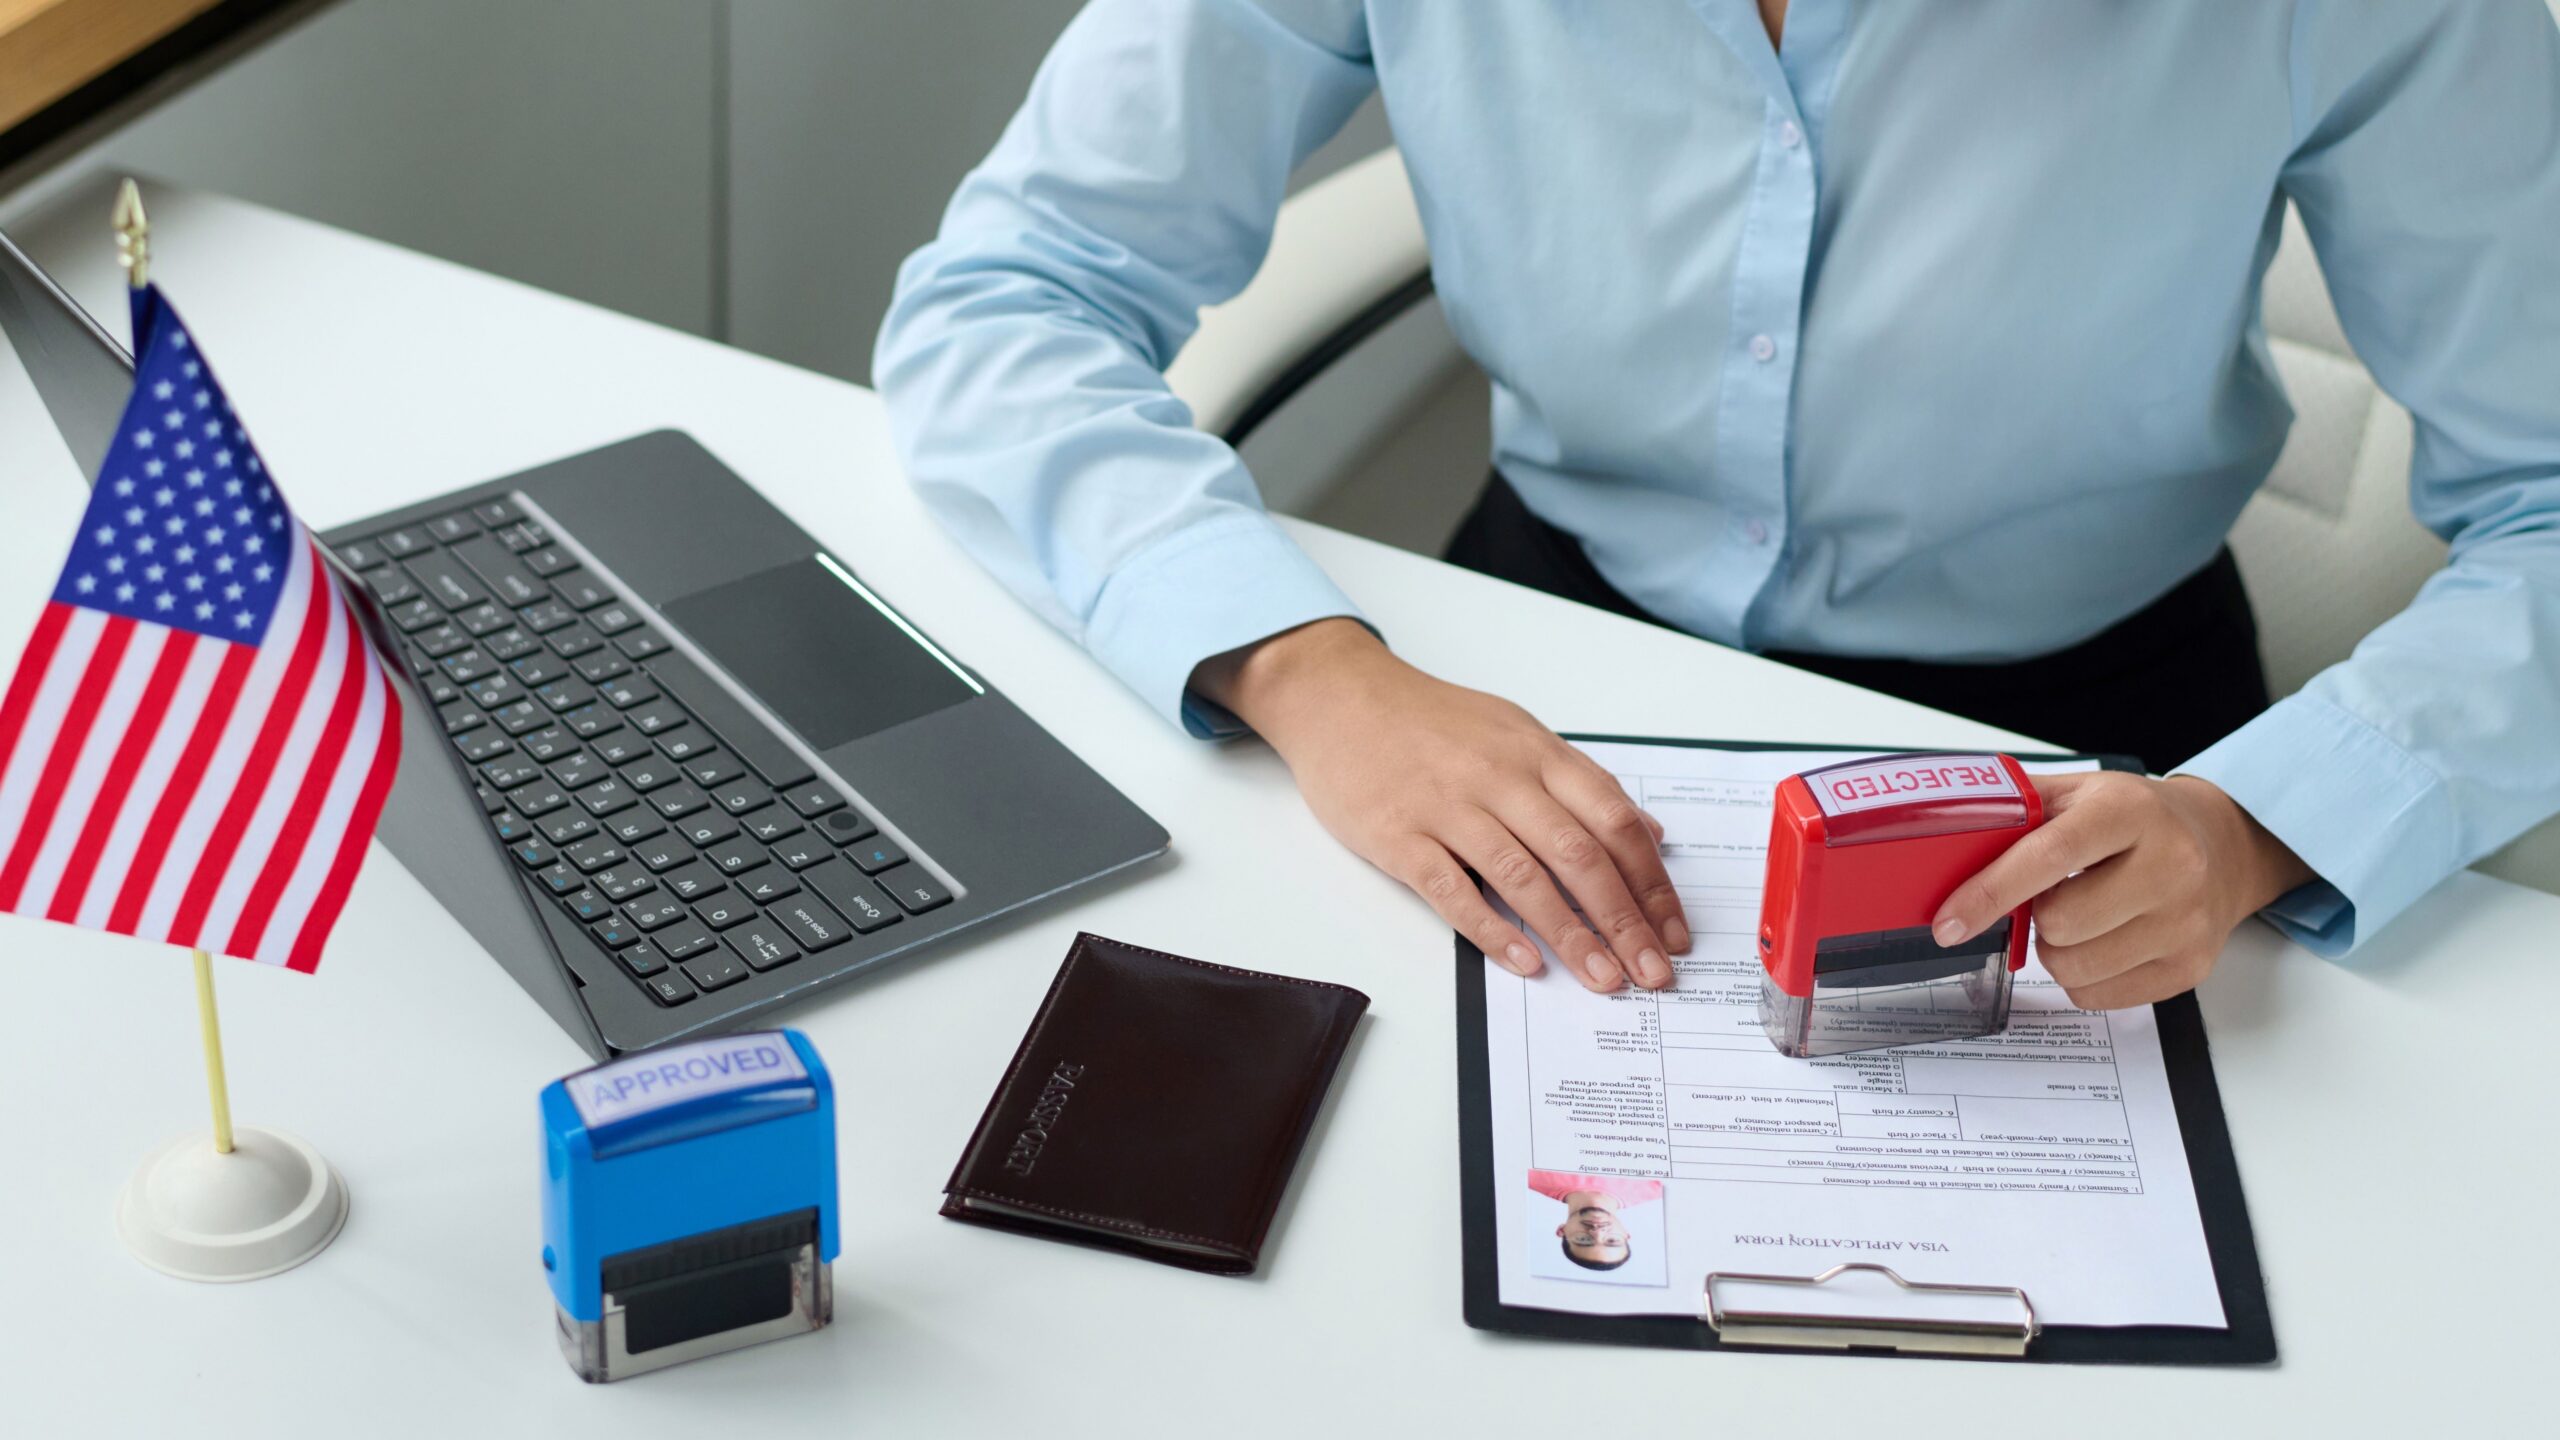
Top Mistakes People Make When Cropping Passport Photos
When it comes to passport photos, getting the cropping right might seem like a small detail — but trust me, it’s huge. A poorly cropped passport photo can delay your travel plans or even lead to outright rejection of your application. So, what are the biggest mistakes people make when cropping these photos? Let’s break it down so you can get it right the first time.
Passport Photo Requirements
Before you even think about cropping your passport photo, it’s absolutely crucial to understand the official U.S. passport photo requirements. The U.S. Department of State has very specific rules designed to make sure your photo clearly shows your face and meets international standards for identification. The photo must be exactly 2 inches by 2 inches (51 mm by 51 mm). Within that frame, your head size should measure between 1 inch and 1 3/8 inches (25 mm to 35 mm) from the bottom of your chin to the top of your head. The image must be in color, printed on photo-quality paper, and taken within the last six months to reflect your current appearance. Also, the background must be plain white or off-white—no patterns, textures, or shadows are allowed. Your full face should be directly facing the camera, with your eyes open and mouth closed, showing a neutral expression.
Why Size and Proportions Matter
The size and proportions of your passport photo are not arbitrary—they are designed with precision to ensure that your facial features are properly visible and standardized across all applicants. If your head appears too large or too small within the 2×2 inch frame, or if the overall photo dimensions are incorrect, your application may be outright denied. The U.S. passport photo guidelines specify that your face should occupy between 50% and 69% of the image’s height. This means the head—from the bottom of the chin to the top of the hair—should fall within the recommended size range to maintain consistency for identity verification. Too much space around your face or a photo that crops too closely can distort how your features are interpreted by automated systems or passport officers.
In practical terms, correct proportions also make your photo easier to handle and store in databases. It ensures your photo can be compared with other identity documents and future passport photos efficiently. When proportions are off, the photo might look skewed or stretched, which can confuse the software or make it difficult for officials to identify you quickly. So, these size and proportion rules aren’t just picky—they’re essential for keeping the passport process smooth and secure.
Common Mistakes When Cropping Passport Photos
Cropping a passport photo may seem like a simple task, but many applicants make errors that lead to rejection of their photos. These mistakes usually happen because people don’t follow the official guidelines carefully or rely on general photo editing tools without proper knowledge. Below are the most common errors to watch out for when cropping your passport photo to meet U.S. standards.
Incorrect Photo Size
One of the biggest mistakes is cropping the photo to the wrong size. The official size for a U.S. passport photo is exactly 2 inches by 2 inches (51 mm x 51 mm). Many people mistakenly crop their photos either too large or too small, which causes immediate rejection by the passport agency. Even slight variations can make the photo invalid. This often happens when individuals try to crop photos manually without using proper tools or templates that enforce the correct dimensions.
Additionally, it’s important to keep in mind:
- The physical print size must be exactly 2×2 inches, not just the digital dimensions.
- The resolution should be high enough to avoid pixelation or blurriness.
- The photo must be printed on photo-quality paper.
Ignoring these requirements can cause your passport photo to be refused, resulting in costly delays and the need to retake and resubmit your photo.
Improper Head Positioning
Another common error is improper head placement within the photo frame. Sometimes, people crop their photos so that the head is too large, taking up almost the entire photo, or too small, making it look lost within the frame. The official guidelines state that the head size (from chin to the top of the head) should measure between 1 inch and 1 3/8 inches within the 2×2 inch photo. The face must also be centered vertically and horizontally.
Key points for correct head positioning:
- The eyes should be approximately 1 1/8 inches from the bottom of the photo.
- There must be balanced space above the head and below the chin.
- The face must be directly facing the camera with a neutral expression.
Failing to meet these positioning requirements can cause confusion during verification and may result in rejection.
Cropping Out Important Features
Cutting off essential facial features is a surprisingly frequent mistake. Sometimes the cropping is so tight that it cuts off parts of the forehead, chin, ears, or even the shoulders. The passport photo guidelines clearly require that the entire head, from the top of the hair to the bottom of the chin, and the tops of the shoulders must be visible.
Why this matters:
- Cropping out ears can interfere with facial recognition systems.
- The forehead and chin help confirm identity and facial proportions.
- Showing the upper shoulders gives context to the head’s position.
If any of these features are cropped out, the photo will be deemed unacceptable, and you’ll need to submit a new one.
Cropping Too Tight or Too Loose
Cropping mistakes often happen at the extremes. Some people crop their photos so tightly that the edges of the face almost touch the frame. This tight cropping doesn’t leave any margin for error and violates the requirement for proper space around the head. On the other hand, cropping too loosely leaves too much empty space around the head, making the face appear too small within the photo frame.
A good passport photo crop should:
- Leave enough margin to show the entire head and upper shoulders clearly.
- Ensure the face occupies about 50% to 69% of the photo height.
- Avoid excessive background space that shrinks the face size.
Balancing the crop margins is critical to passing passport photo guidelines without issues.
Including Background Objects or Shadows
Lastly, many people overlook the background when cropping passport photos. The U.S. passport rules require a plain white or off-white background with no objects, patterns, textures, or shadows visible. Sometimes people crop photos that have shadows behind the head, furniture edges, or uneven lighting in the background, which causes the photo to be rejected.
Important background guidelines:
- Background must be uniform and free of shadows or color gradients.
- No visible objects, people, or patterns allowed.
- Lighting should be even to avoid harsh shadows on the face or background.
Always ensure your cropped photo includes only a clean, neutral background to meet government standards and avoid delays.
Tools and Tips for Proper Cropping
When it comes to cropping passport photos correctly, using the right tools can make all the difference. Luckily, there are many apps and websites designed specifically to help you crop passport photos according to official U.S. government standards. Tools like Passport Photo Maker, IDPhotoStudio, or the U.S. Department of State’s official photo tool provide cropping frames and size checks that ensure your photo fits the exact 2×2 inch dimensions and that your head is positioned properly. These tools often include built-in templates that guide you in aligning your face correctly, making it much harder to make mistakes that could lead to rejection.
Using specialized tools not only saves time but also reduces frustration. Many of these apps allow you to upload your photo, adjust cropping with precision, and even preview your image to see if it meets all the official guidelines. They help you avoid common pitfalls like cropping too tightly, cutting off important features, or including an improper background. By choosing the right tool, you increase the chances of your passport photo being accepted on the first try.
| Tool Name | Platform | Features | Cost |
| Passport Photo Maker | Windows, macOS | Official size templates, automatic cropping, background check | Paid, with free trial |
| U.S. Dept. of State Photo Tool | Web-based | Official guide, exact cropping frames, background requirements | Free |
| IDPhotoStudio | Windows | Size adjustment, cropping guides, print layout | Free |
| Passport Photo Online | Web, iOS, Android | AI face detection, auto crop, background removal | Freemium (some features free) |
How to Use Built-in Cropping Guides
Most modern photo editing apps include built-in cropping guides or templates specifically designed for passport photos. These templates are a lifesaver for anyone unfamiliar with the exact dimensions needed. To use these guides, you simply open your photo in the app, select the 2×2 inch passport photo template, and adjust your photo to fit within the provided guide lines. The guides usually mark the correct position for your head size and placement, helping you avoid common errors like cropping too tightly or positioning your face too low or high in the frame.
Following these guides ensures your photo meets both size and proportion requirements as per U.S. passport rules. The apps typically give real-time feedback, showing if the face is too small or if parts of the head are cut off. This visual assistance takes the guesswork out of cropping and can be especially helpful if you’re doing this on your own at home without professional assistance.
Step-by-step Cropping Tutorial
Cropping your passport photo correctly is straightforward if you follow these steps carefully:
- Upload your photo to your chosen cropping tool or app.
- Select the passport photo size (which must be 2×2 inches for U.S. passports).
- Adjust the cropping box to center your head within the frame. Make sure your face fills the appropriate area without being too large or too small.
- Check the margins carefully to ensure no parts of your face, chin, forehead, or ears are cut off.
- Verify the background is plain white or off-white with even lighting and no shadows or objects.
- Save your cropped photo in high resolution for printing or uploading.
By following these steps, you minimize the chance of making errors that lead to rejection. The key is to double-check each detail before finalizing your photo.
How to Avoid These Mistakes
To make sure your passport photo passes on the first submission, keep these professional tips in mind:
- Always double-check your photo measurements against the official U.S. Department of State guidelines. A quick measurement before printing can save you headaches later.
- Use official templates or trusted software that are specifically designed for passport photos. These tools guide you through the correct size and cropping placement.
- Avoid selfies unless taken under professional conditions. Selfies often have uneven lighting or improper backgrounds that don’t meet the requirements.
- When in doubt, visit a professional photo studio. Experts know the exact standards and can provide photos guaranteed to pass.
Following these tips will increase your chances of a smooth passport application process without unnecessary delays.
What Happens If Your Passport Photo Is Rejected
Submitting a passport photo that doesn’t meet the official requirements can seriously delay your application. If the U.S. Department of State finds your photo non-compliant, they will send it back with instructions to resubmit a correct one. This means you’ll face additional waiting times, which can affect your travel plans, visa applications, or other time-sensitive documentation.
Besides delays, resubmission might also mean paying extra fees if you need to order new photos or pay for expedited processing later on. Ultimately, taking the time upfront to get your passport photo right saves you both money and stress. So, it’s always better to be thorough and precise rather than rush the process and risk rejection.